I am a big fan of Railway, it allows me to deploy any sort of backend and database with almost no effort and the pricing is extremely reasonable to start, especially given that my prototypes and work-in-progress projects have no traffic. The free $5 per month they give makes it basically free to experiment with, I’ve been using the platform for a few months and didn’t have to pay anything yet!
I’m usually developing my backends in JavaScript/TypeScript, but as an iOS and Swift developer, I wanted to toy around with Swift Vapor and answer the question: can I use Railway to deploy a Swift app?
The answer is yes and it’s extremely simple, let’s try it.
Setup a Vapor project
I followed the official Vapor documentation:
- Xcode was already installed
- installed the vapor toolbox using:
brew install vapor - created a new project using:
vapor new hello -n - build the project in Xcode and verify that it works in the browser at http://127.0.0.1:8080
So far so good!
Create a GitHub project
Here I simply created a new private repository on Github, nothing special. I then added the remote to the Vapor project and pushed my code to the main branch.
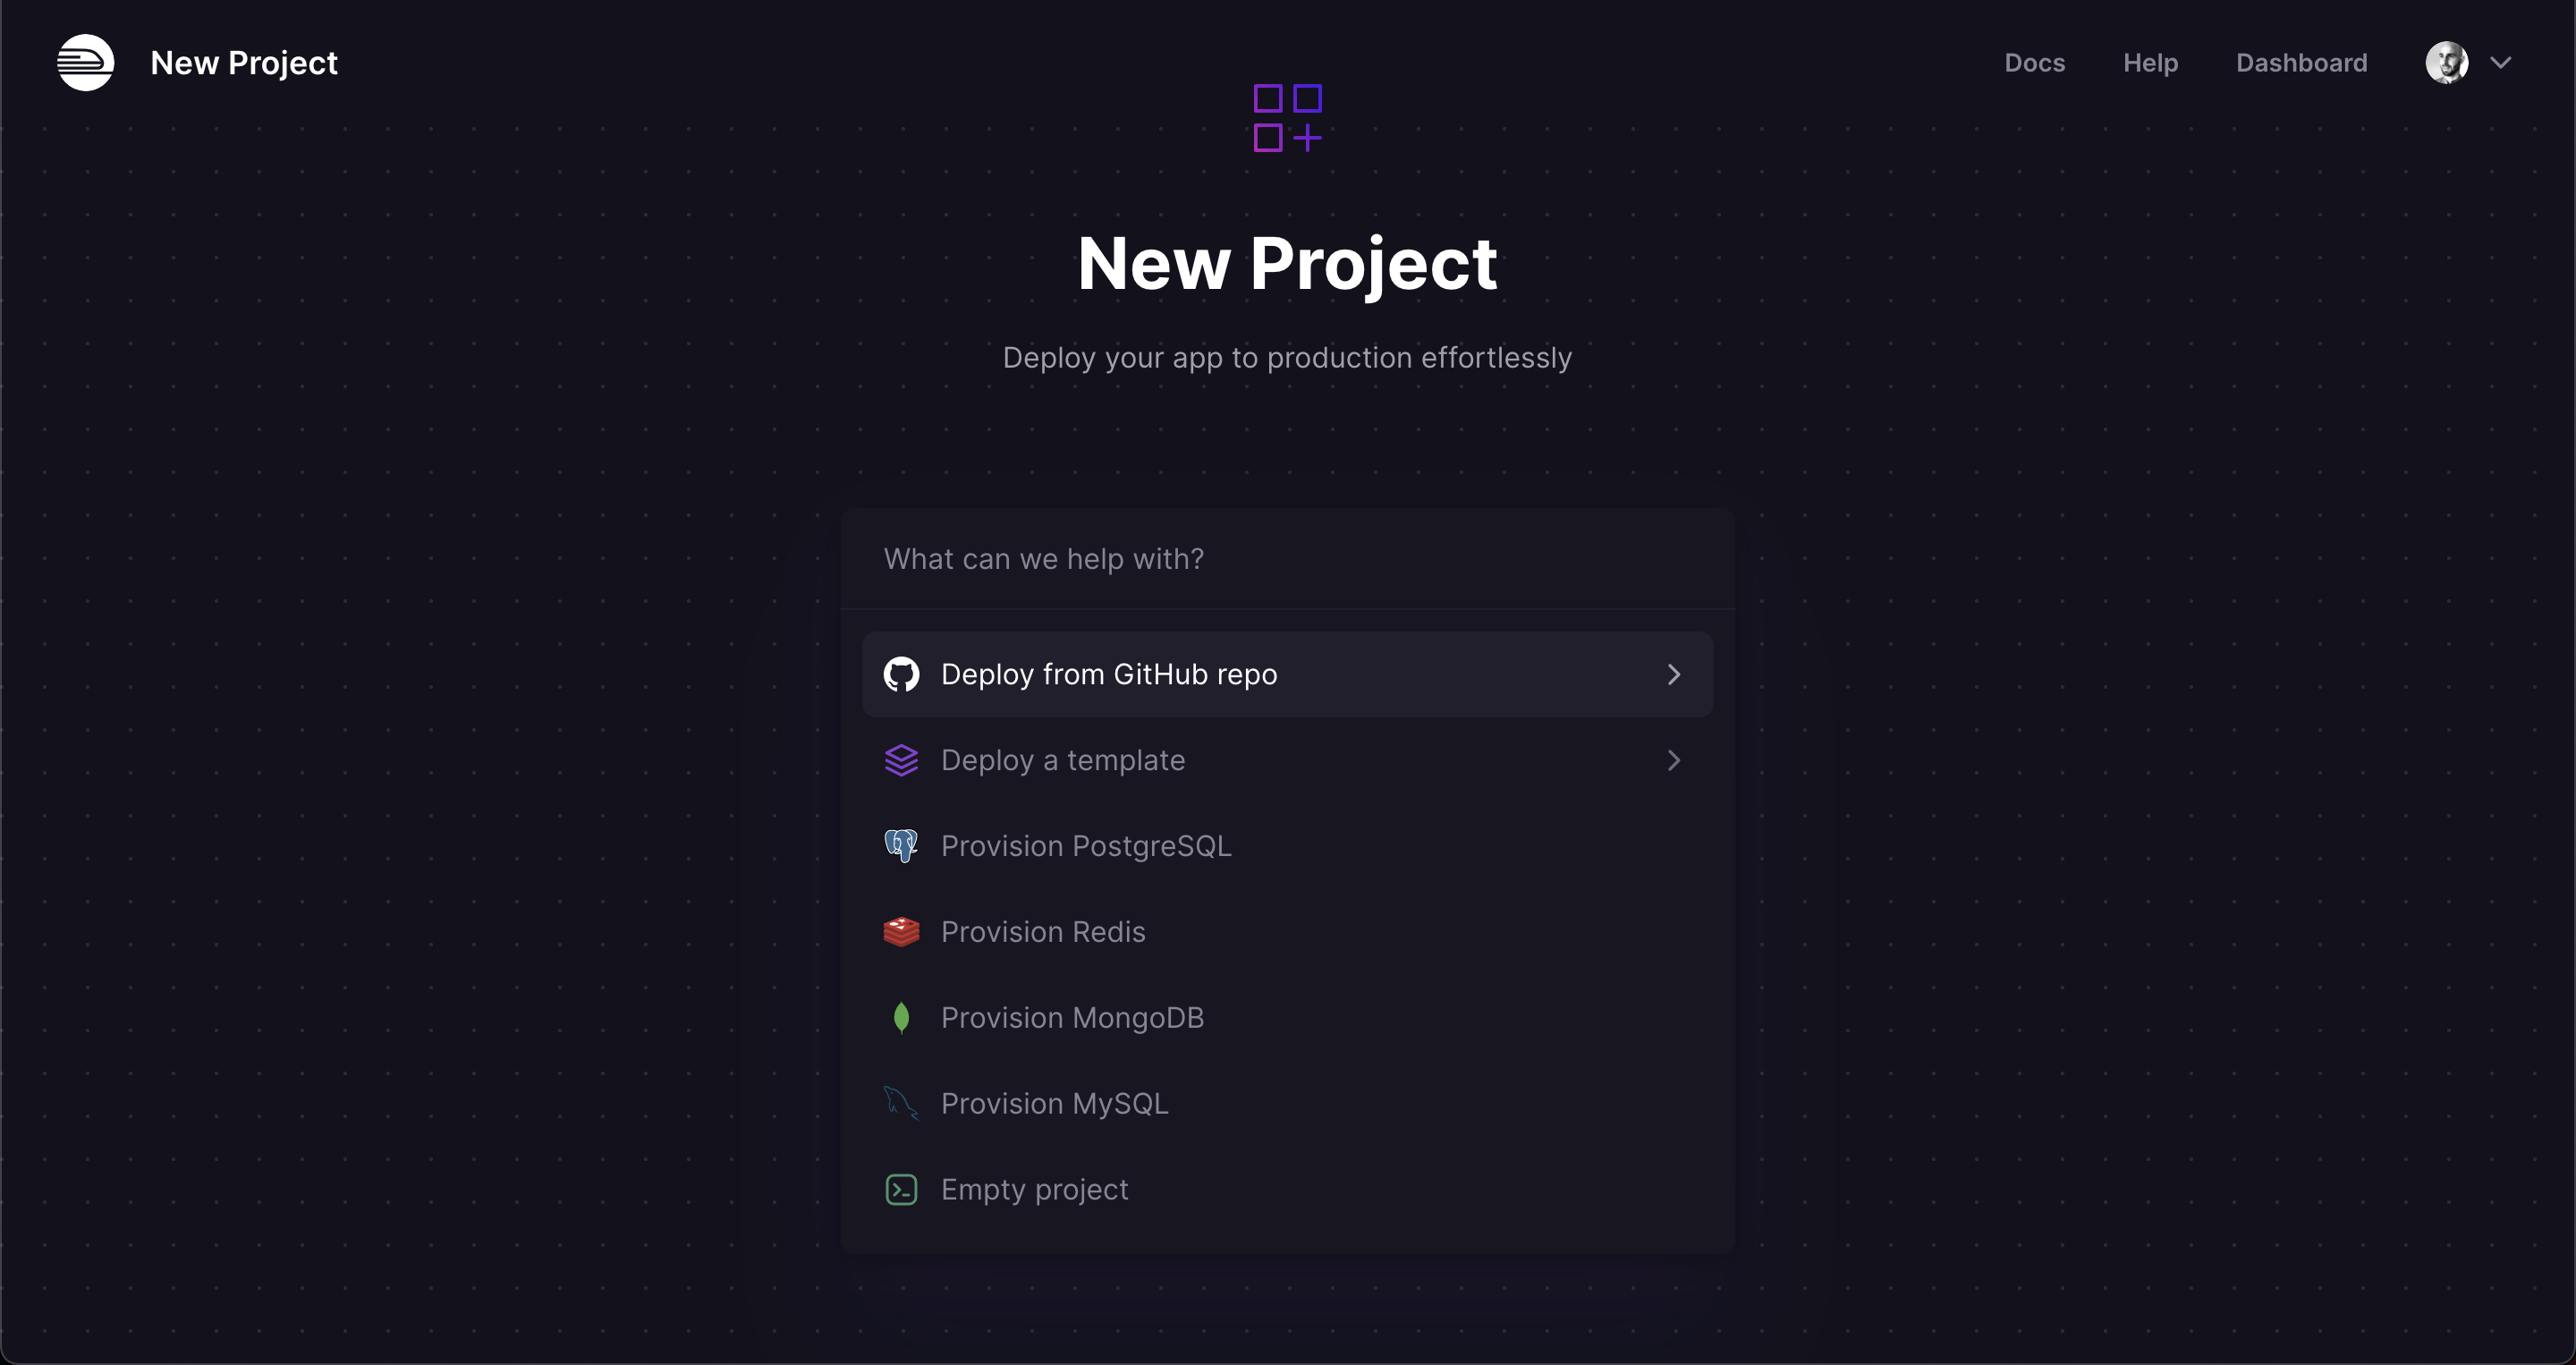
Setup Railway
After creating a free account on Railway, let’s create a new project:
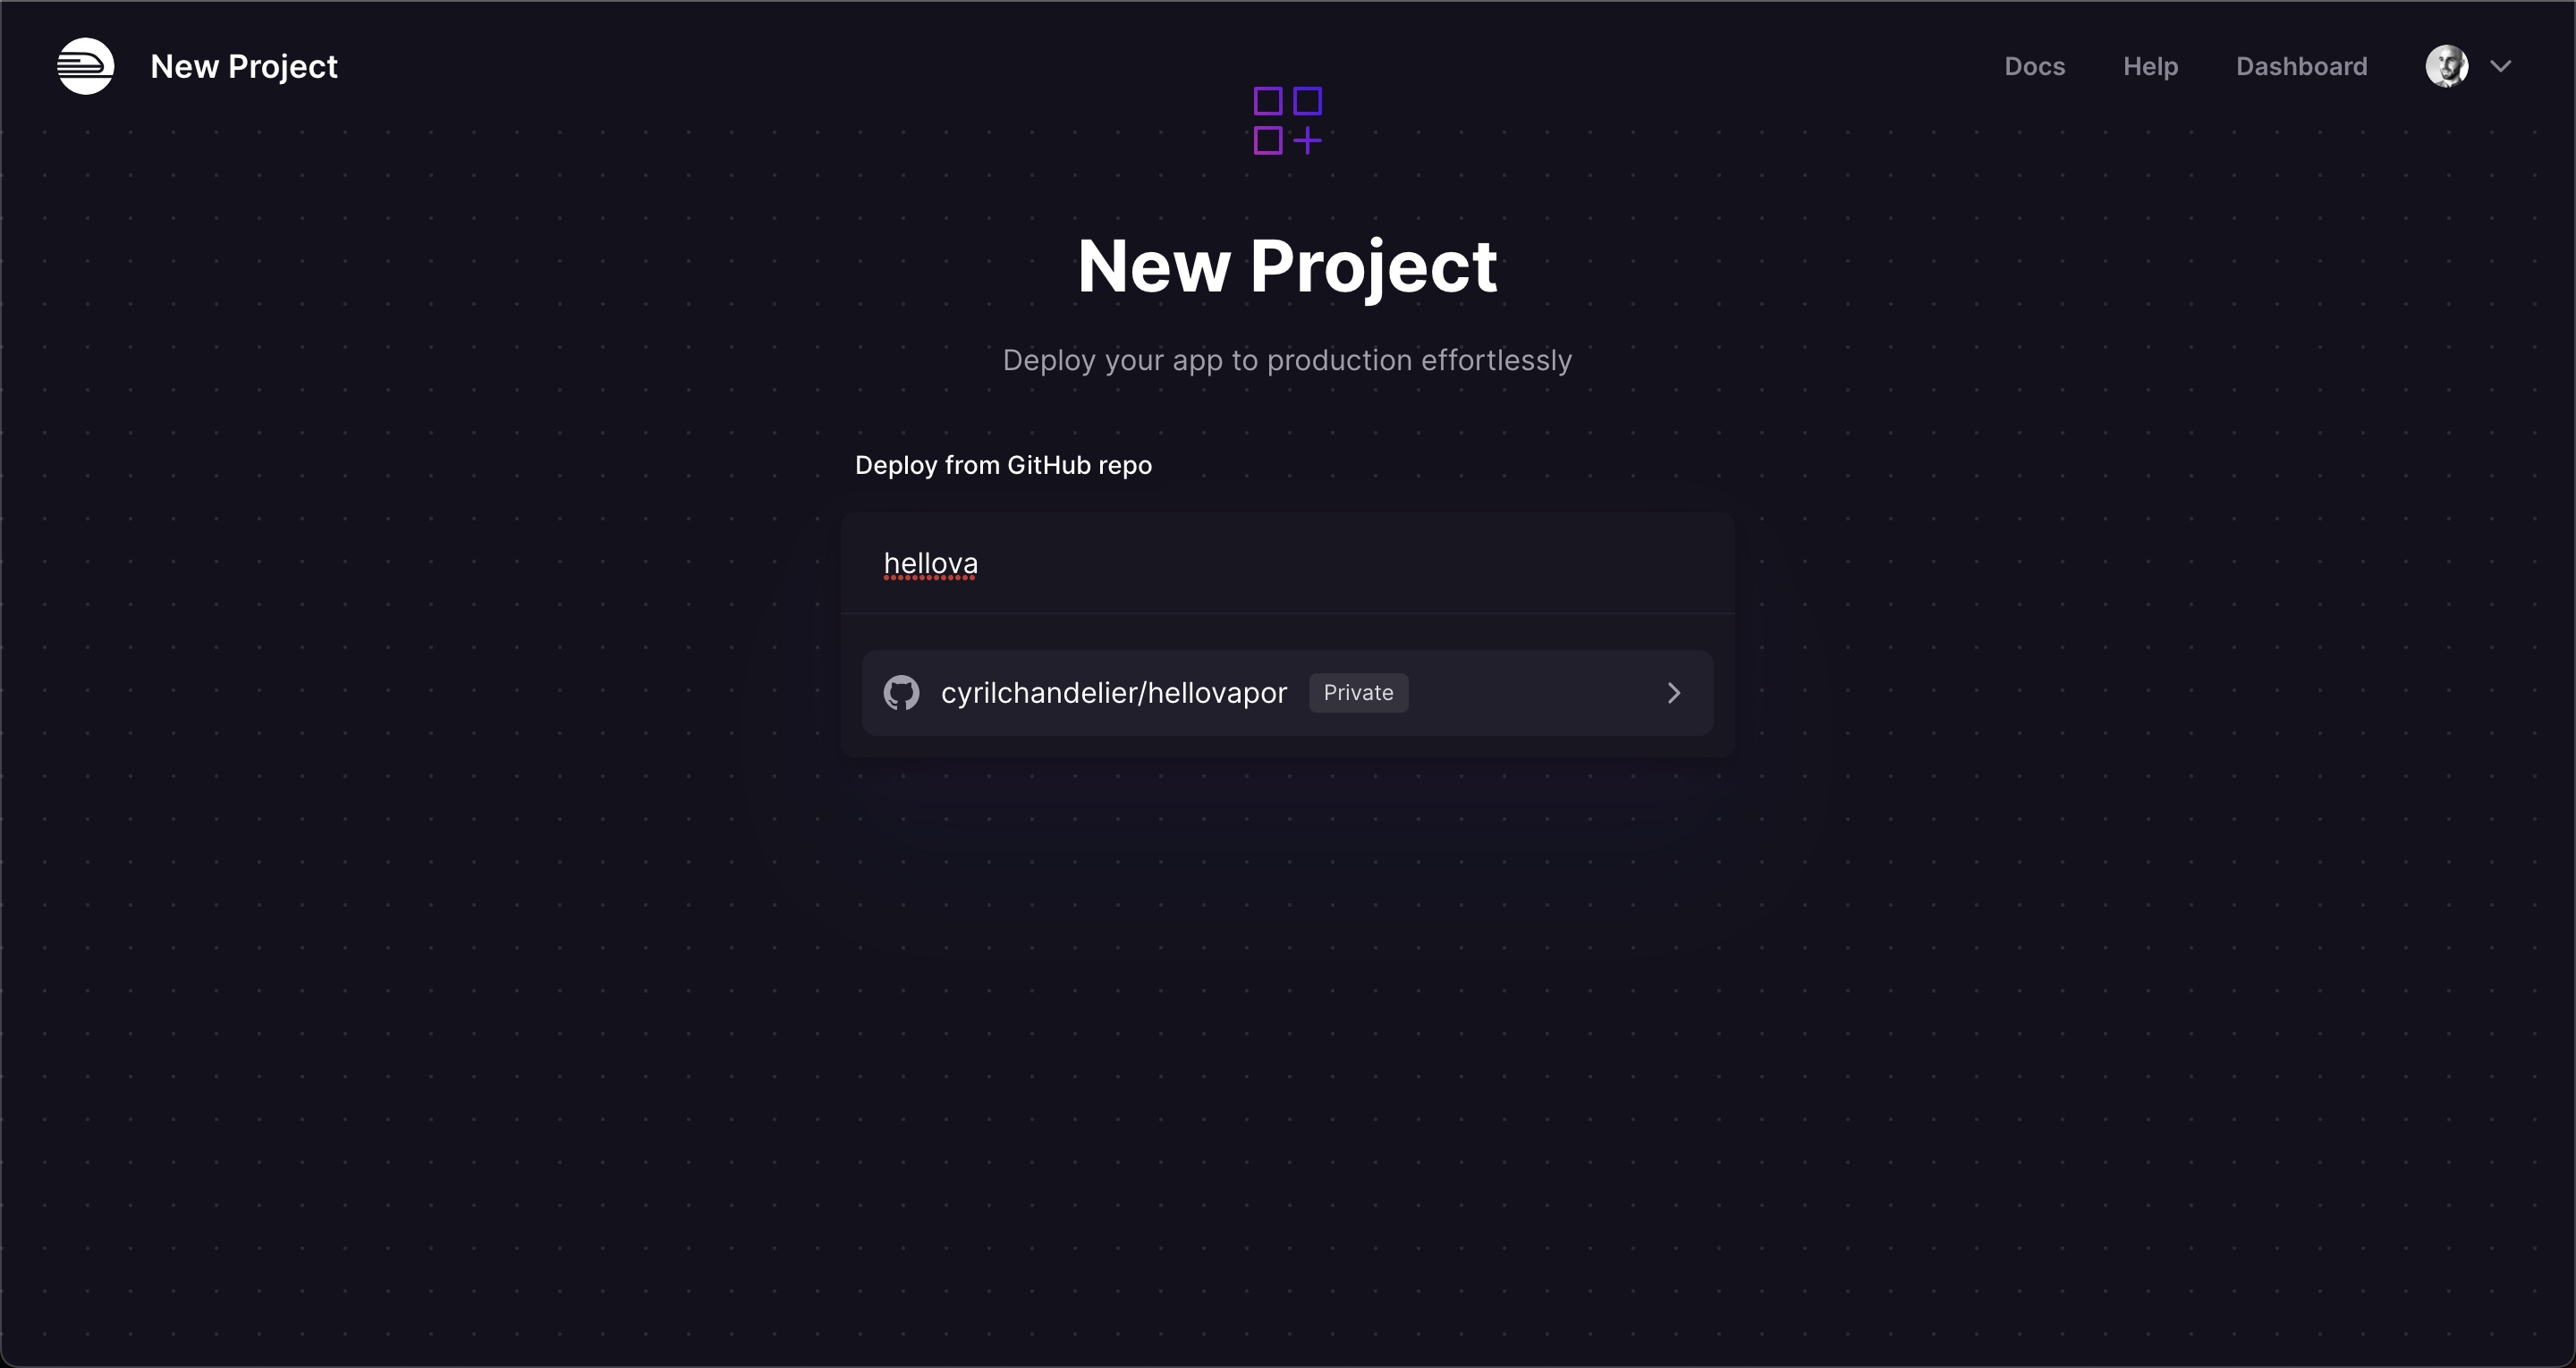
You will need to connect your Github account for Railway to detect your available projects. Once done you can pick the GitHub repository we created earlier:
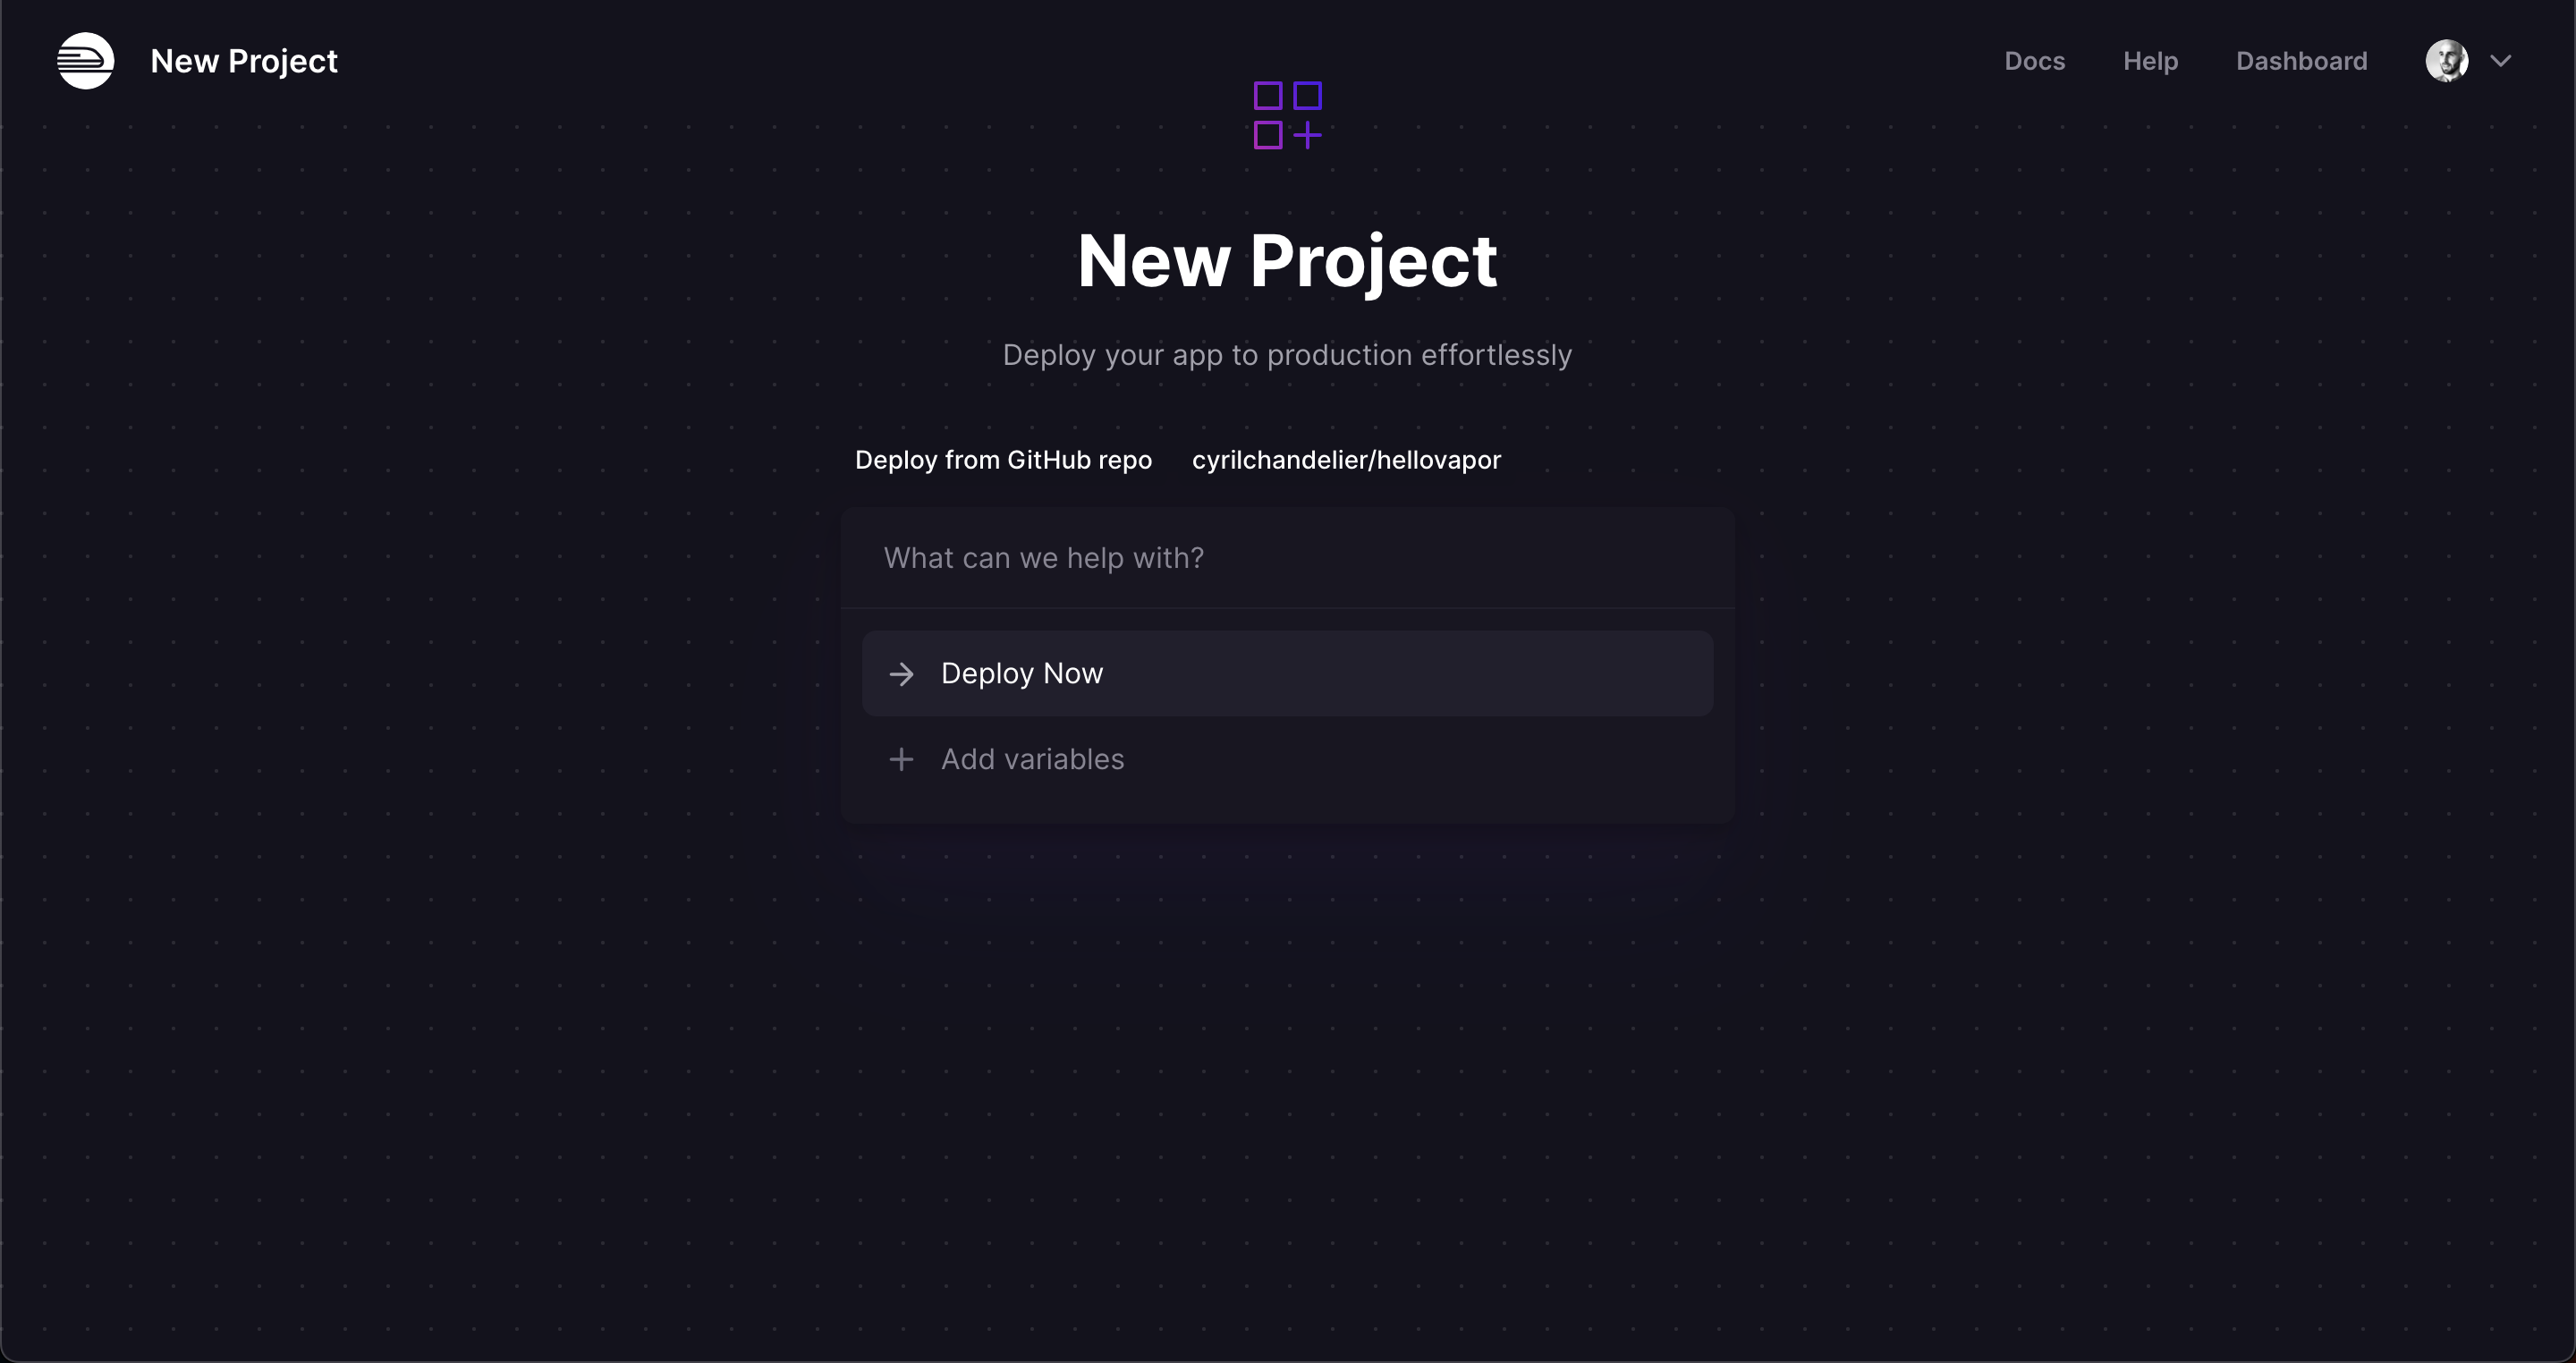
Then click “Deploy Now”.
It’s kind of magic at this point, Railway automatically detects the Dockerfile at the root of the project, builds and deploys the project… and after a few minutes, it almost works at this stage.
Now an important step, you need to set up an environment variable for the port exposed by Docker, go to Variables, and add a new PORT variable using 8080 for the value:
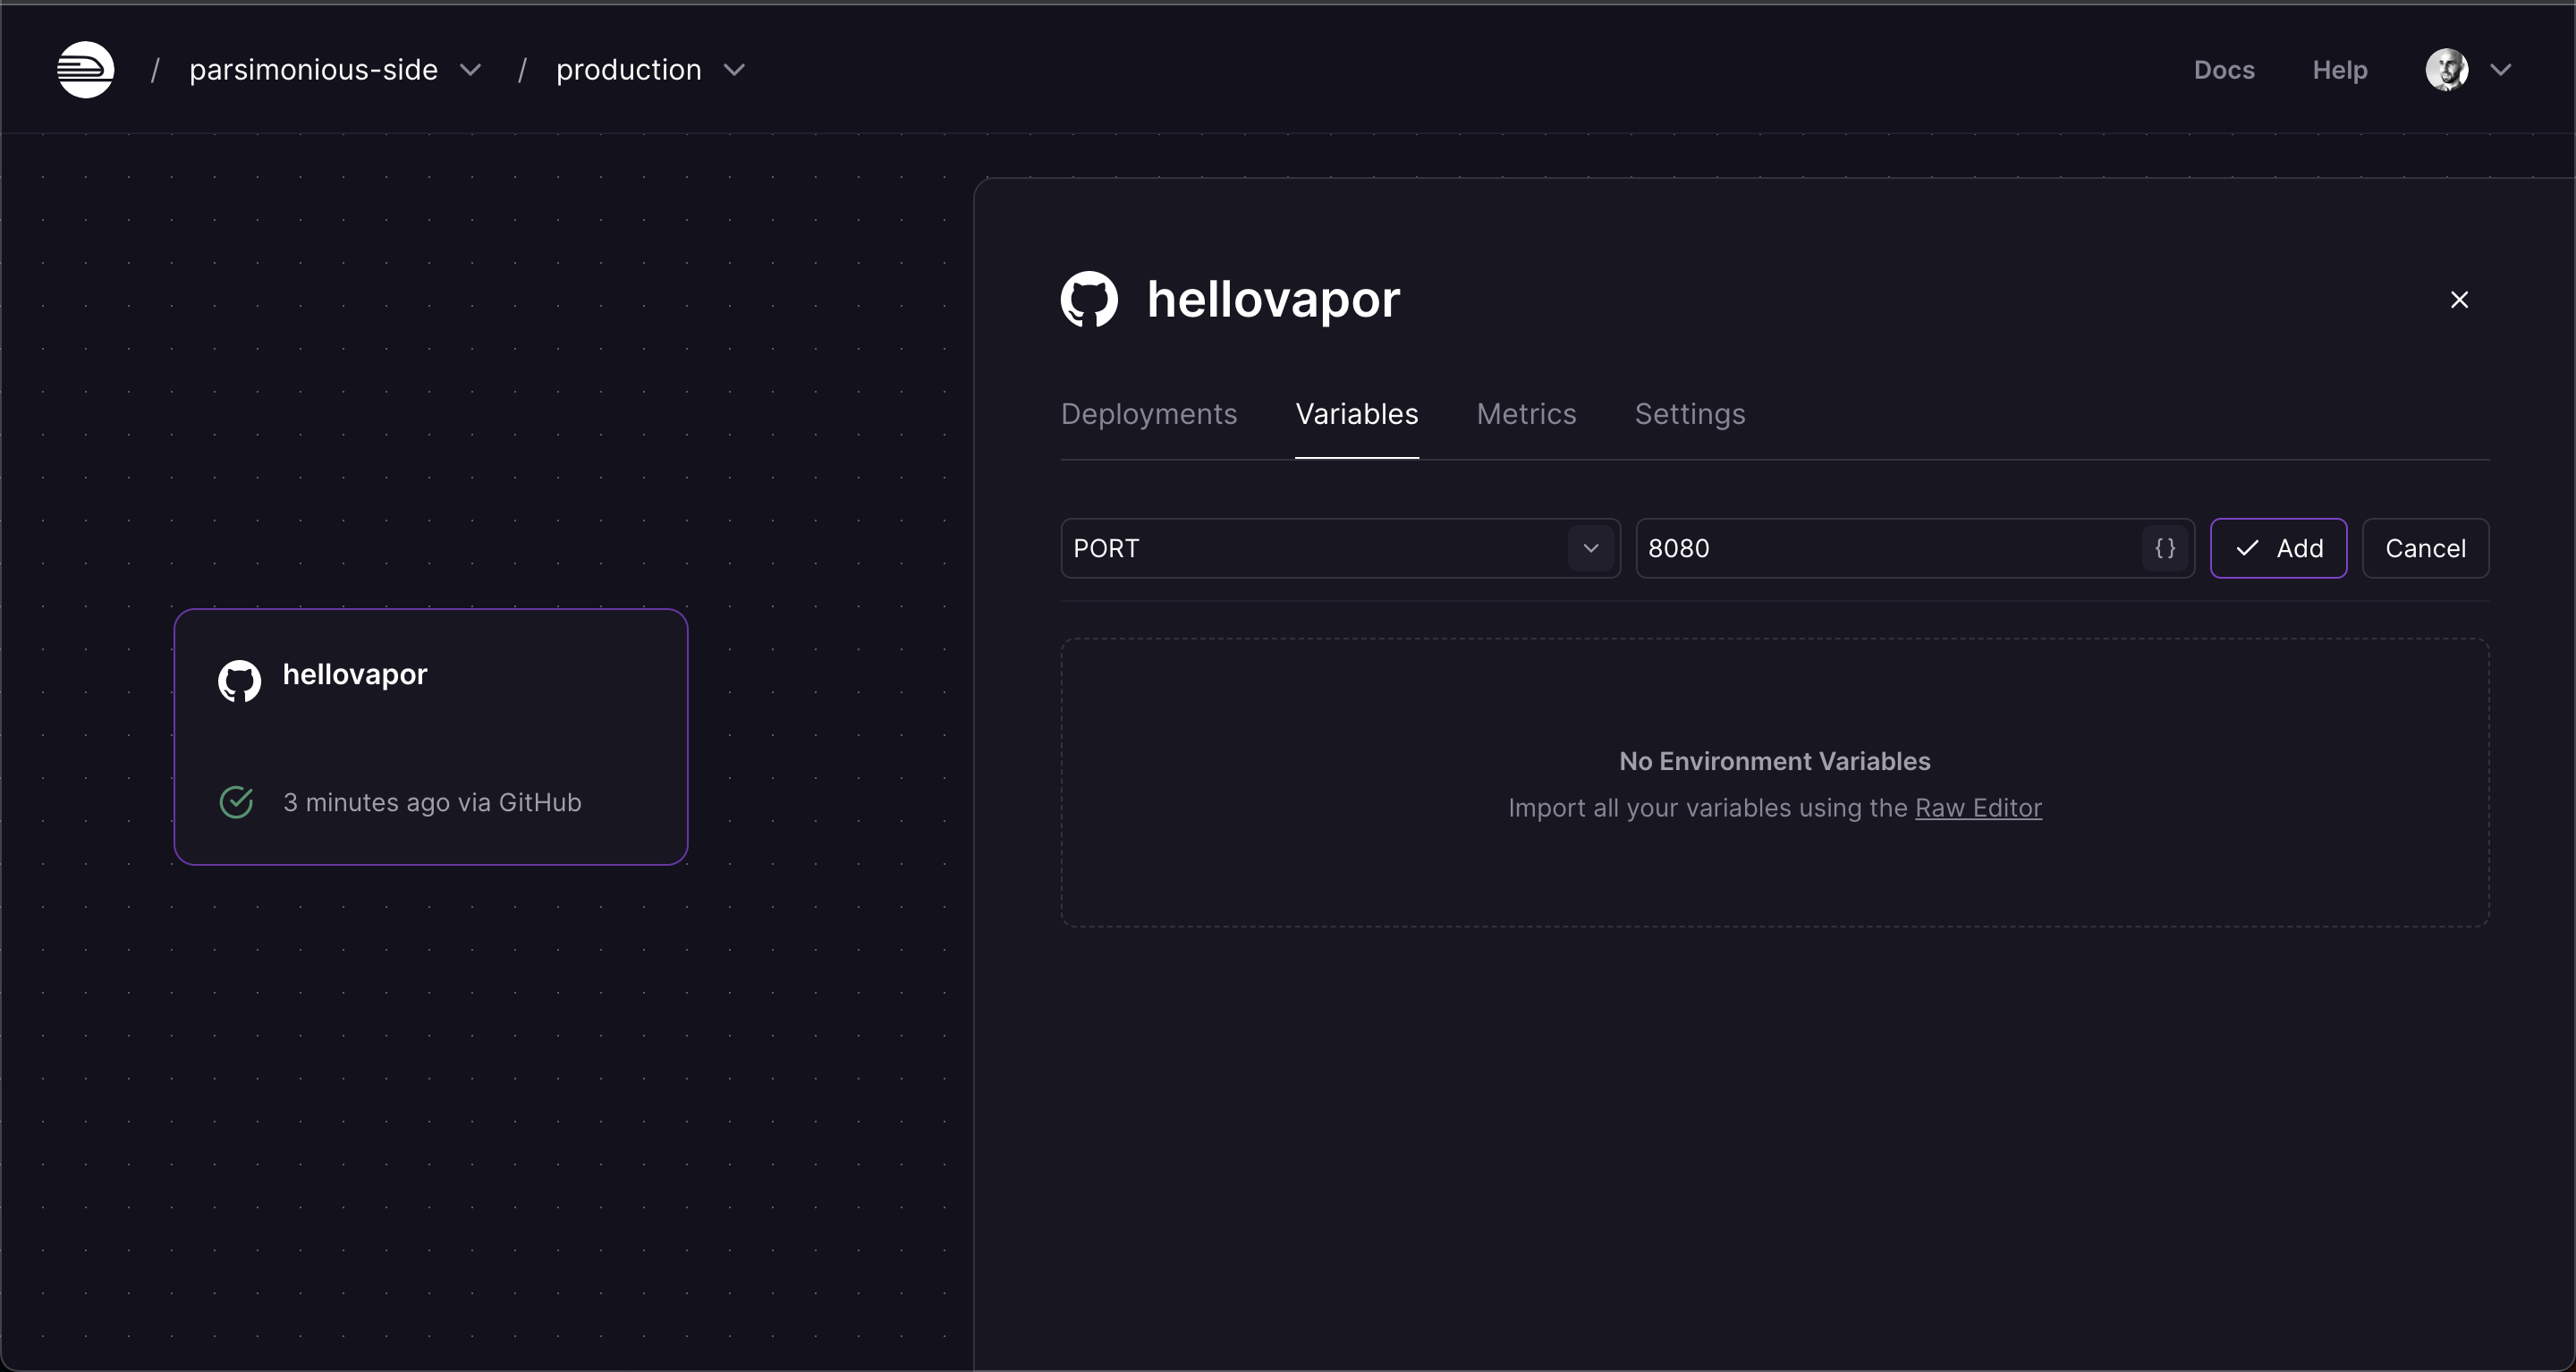
On save, Railway automatically re-deploys, let’s wait another few minutes, almost there!
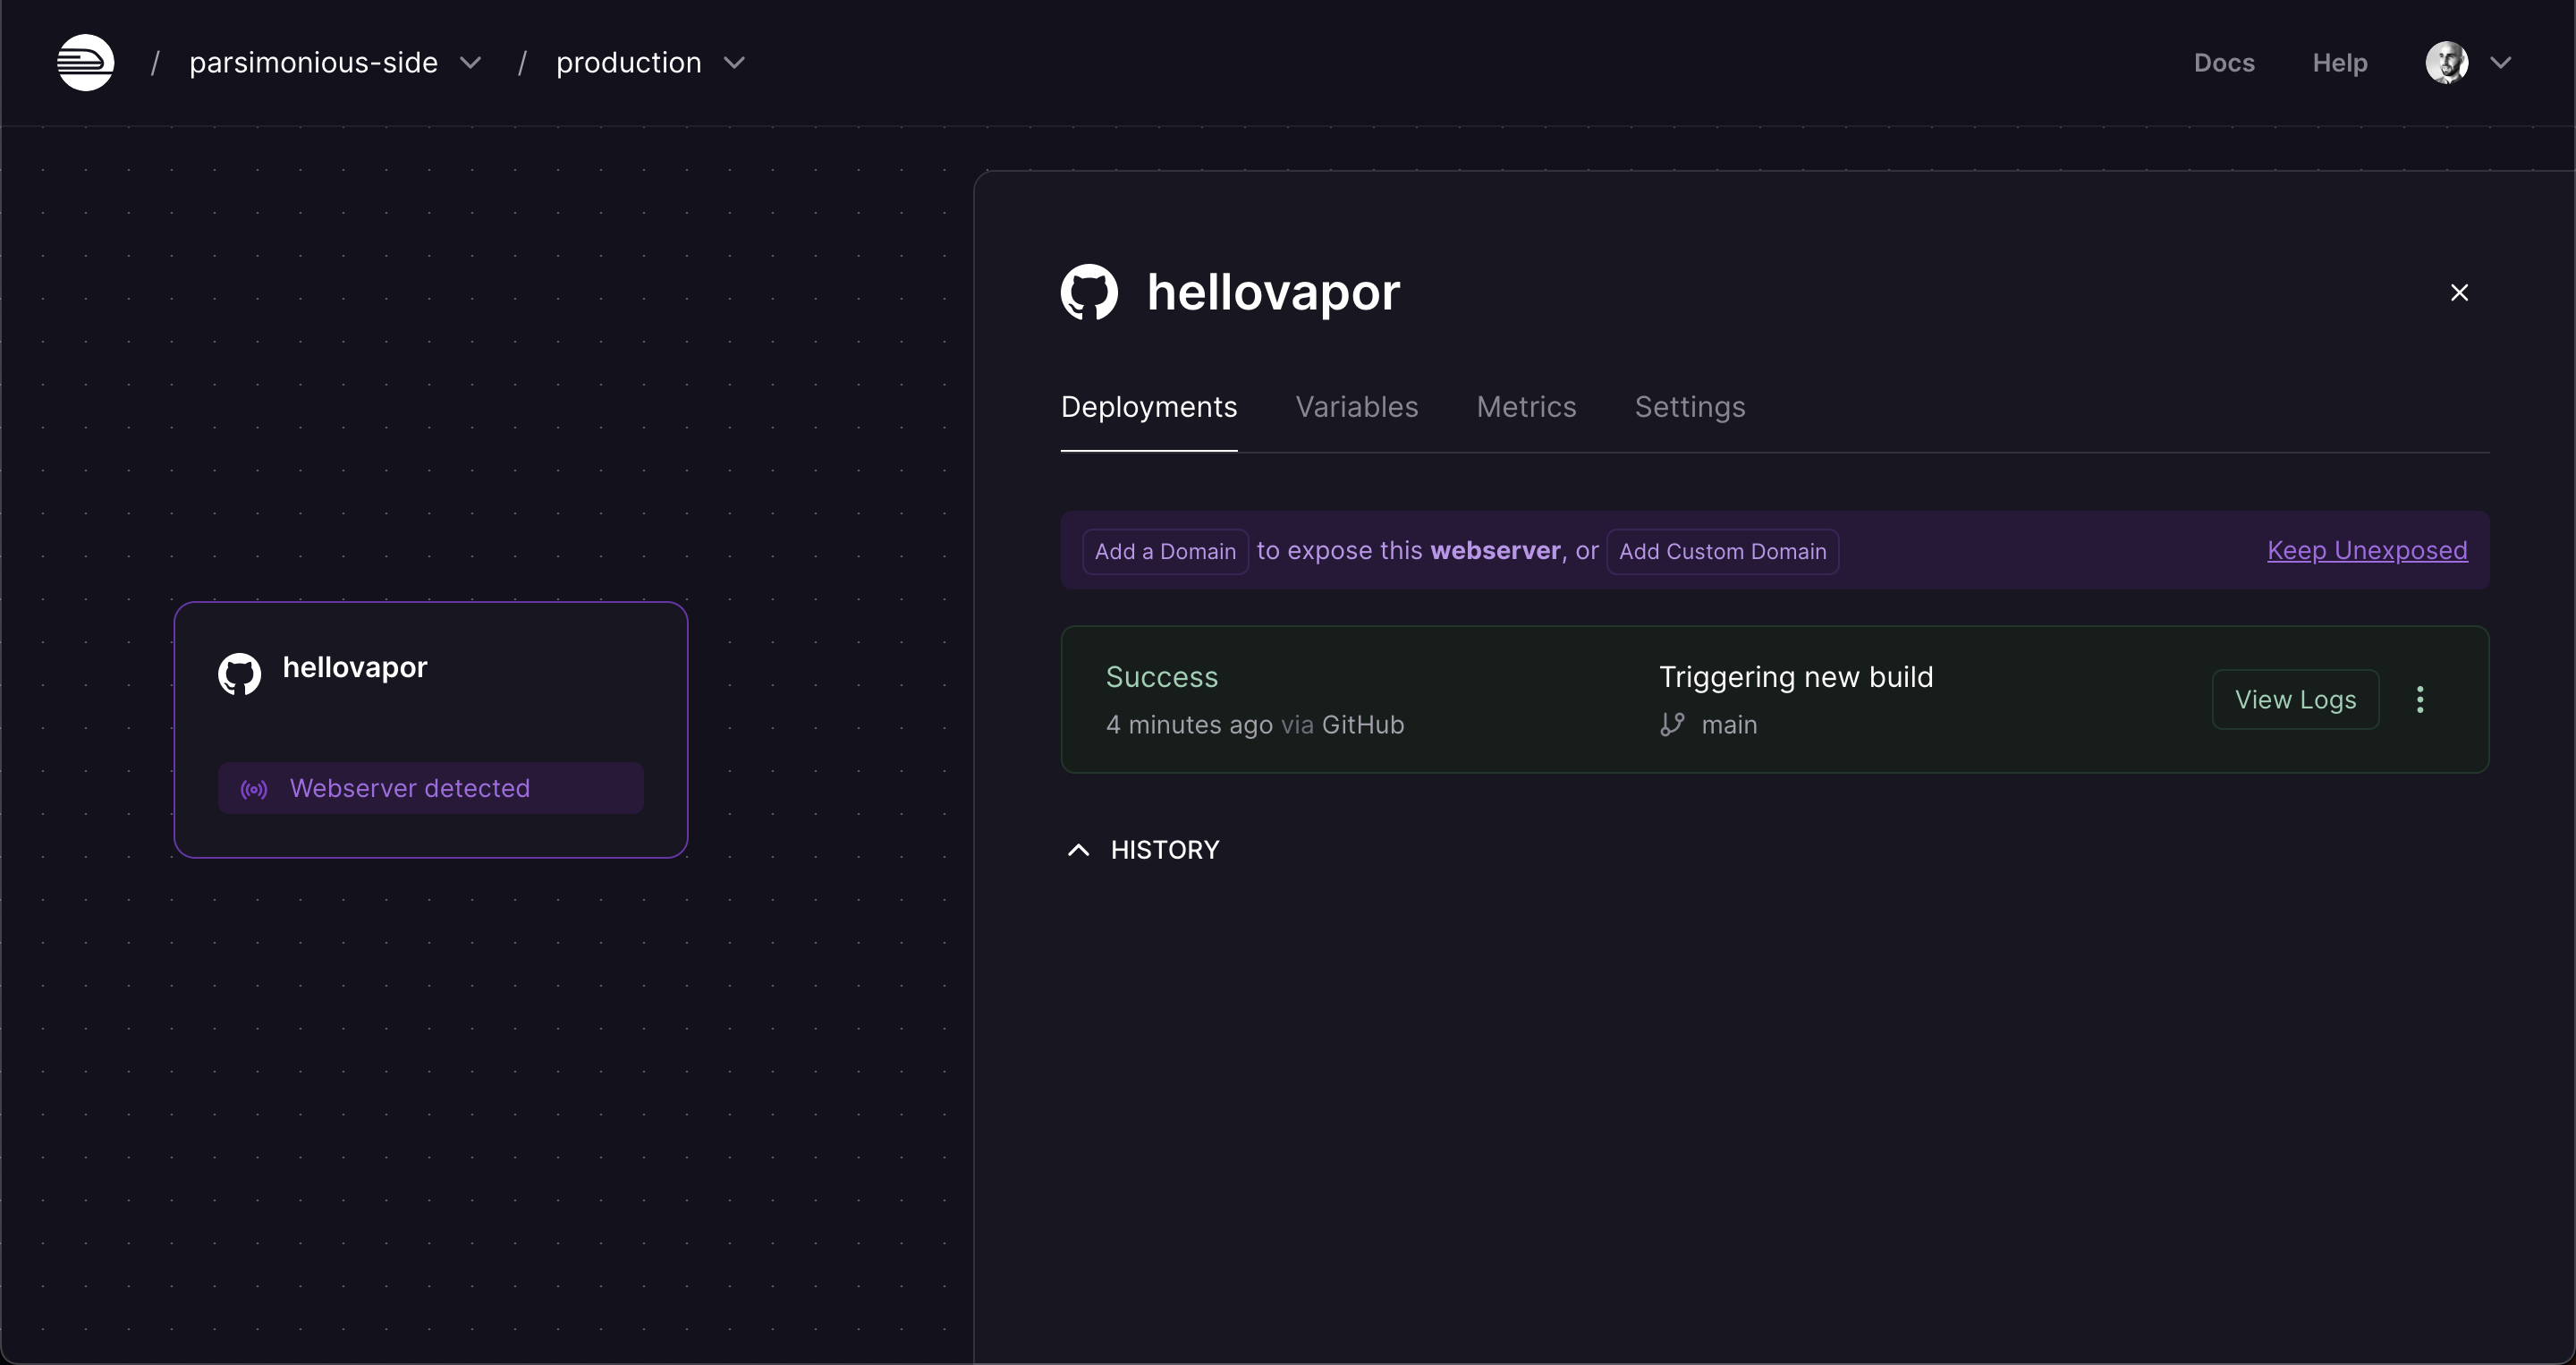
Now that we have added the port, Railway automatically detects a web server and offers to associate a domain, click “Add Custom Domain”:
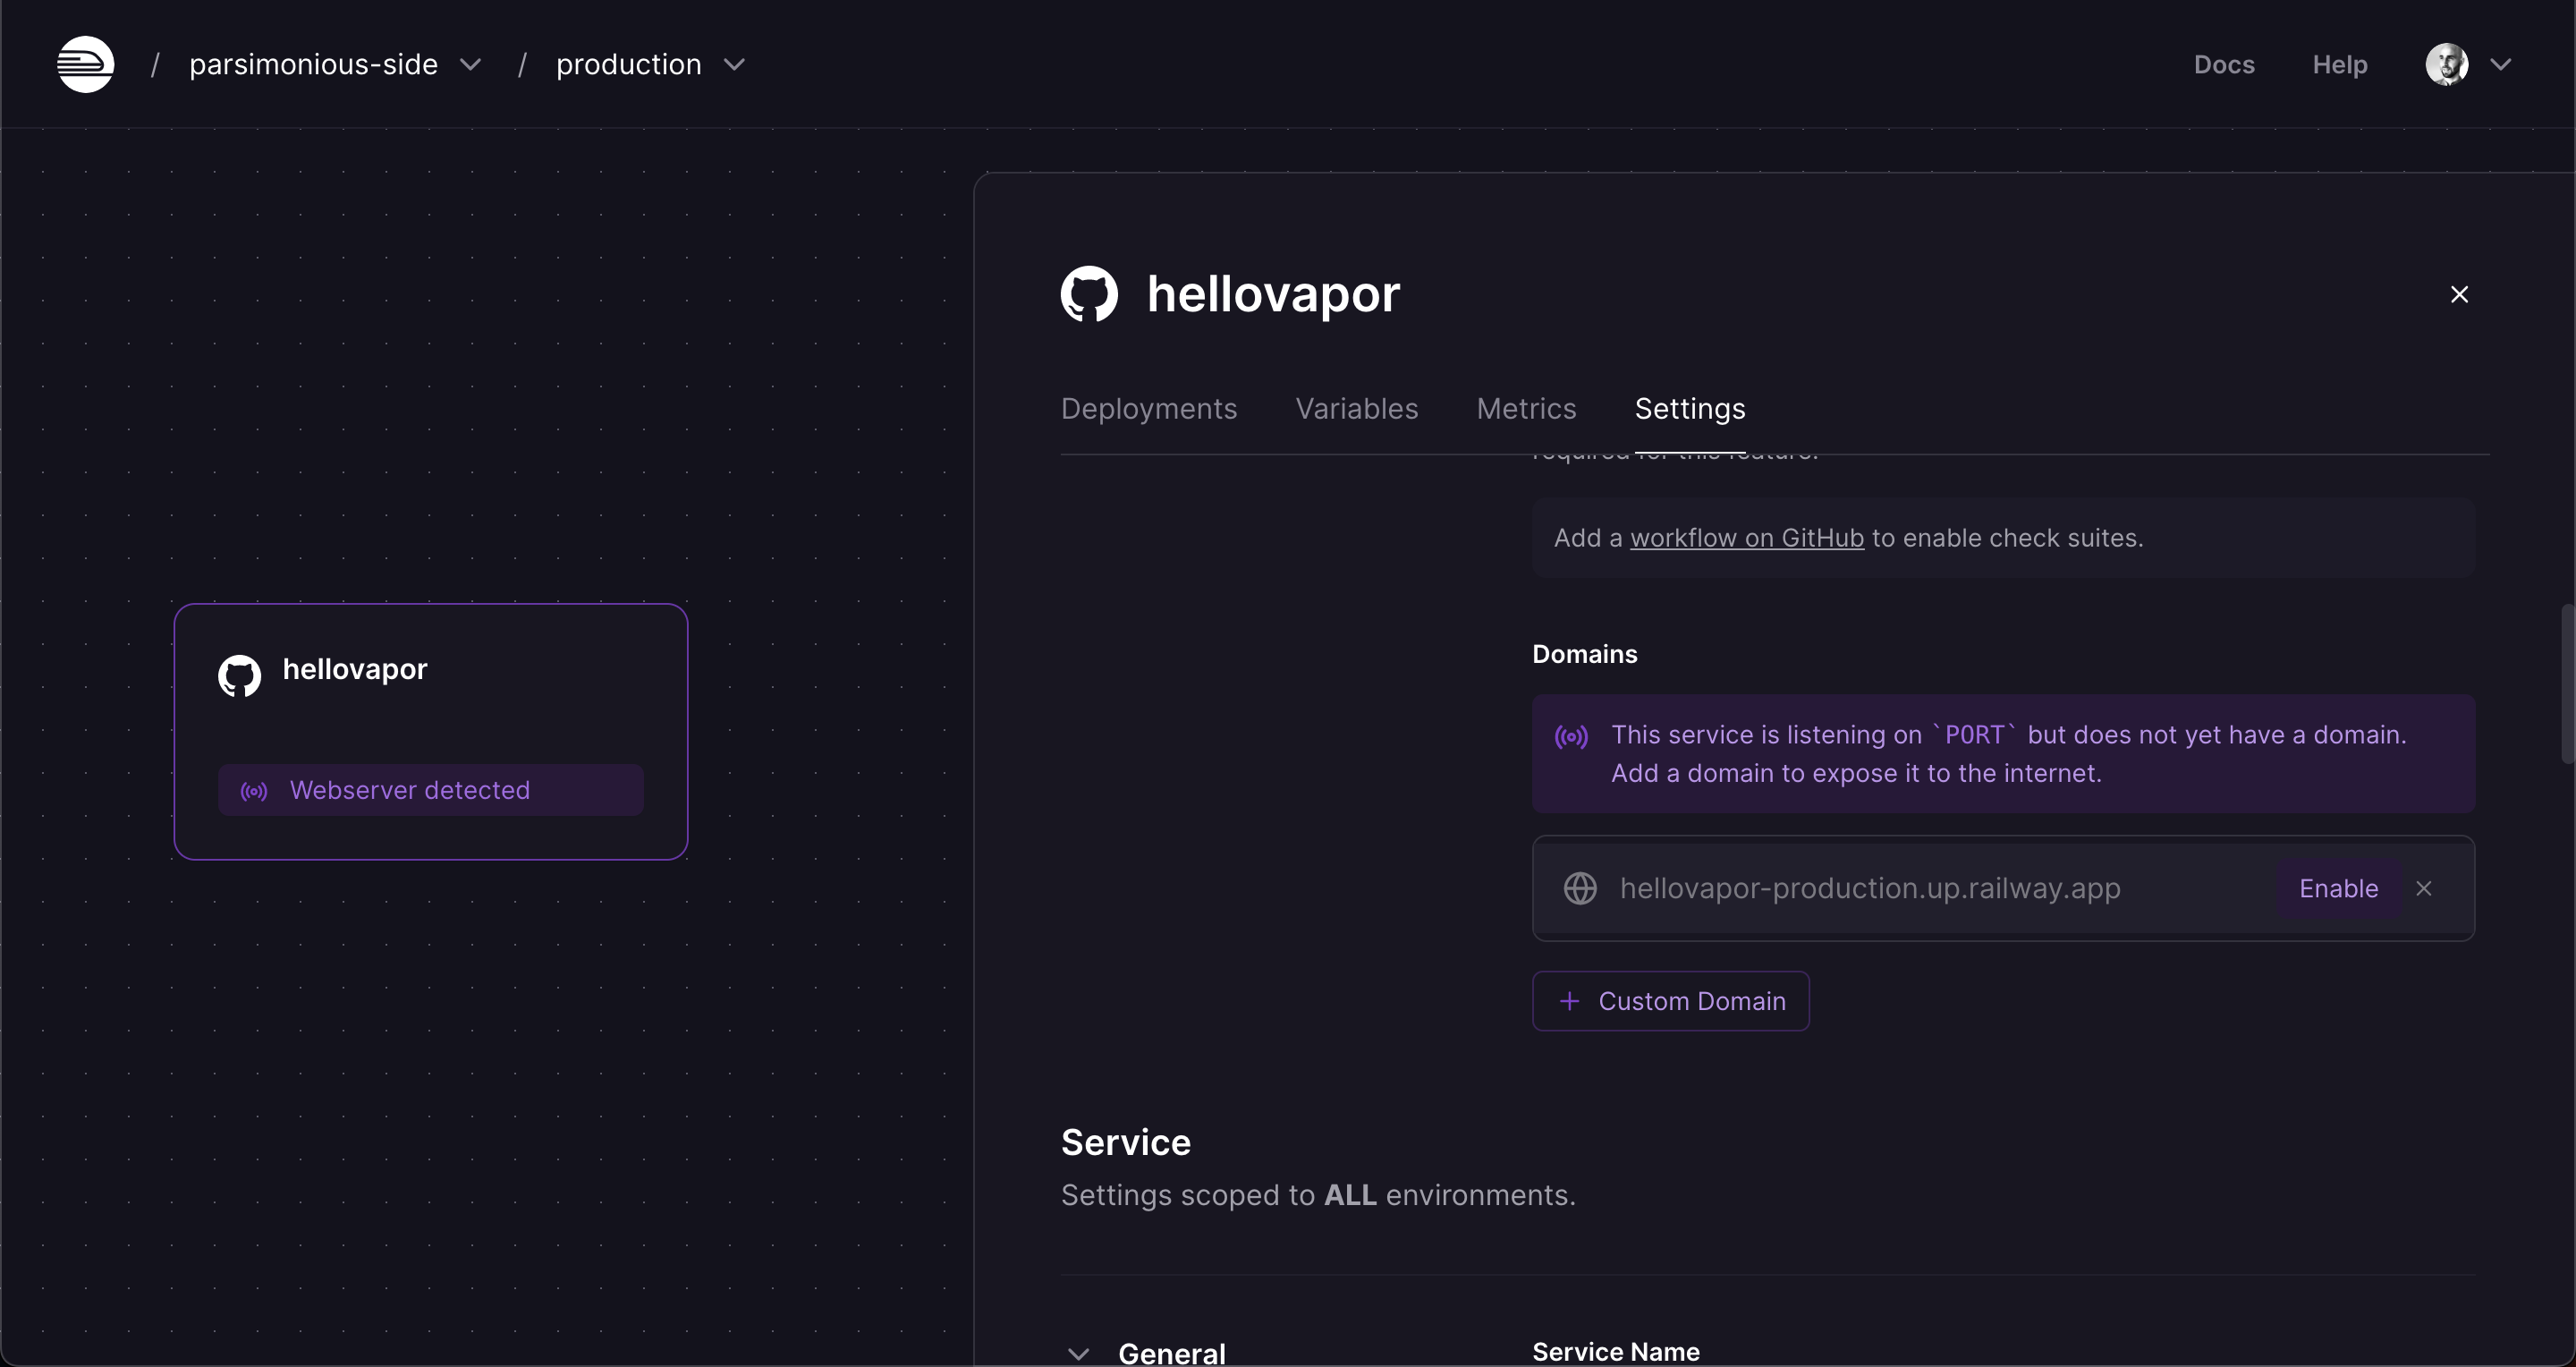
Here you can either connect your own domain (for free!) or use a railway.app subdomain, for the demo let’s click “Enable” for the railway subdomain:
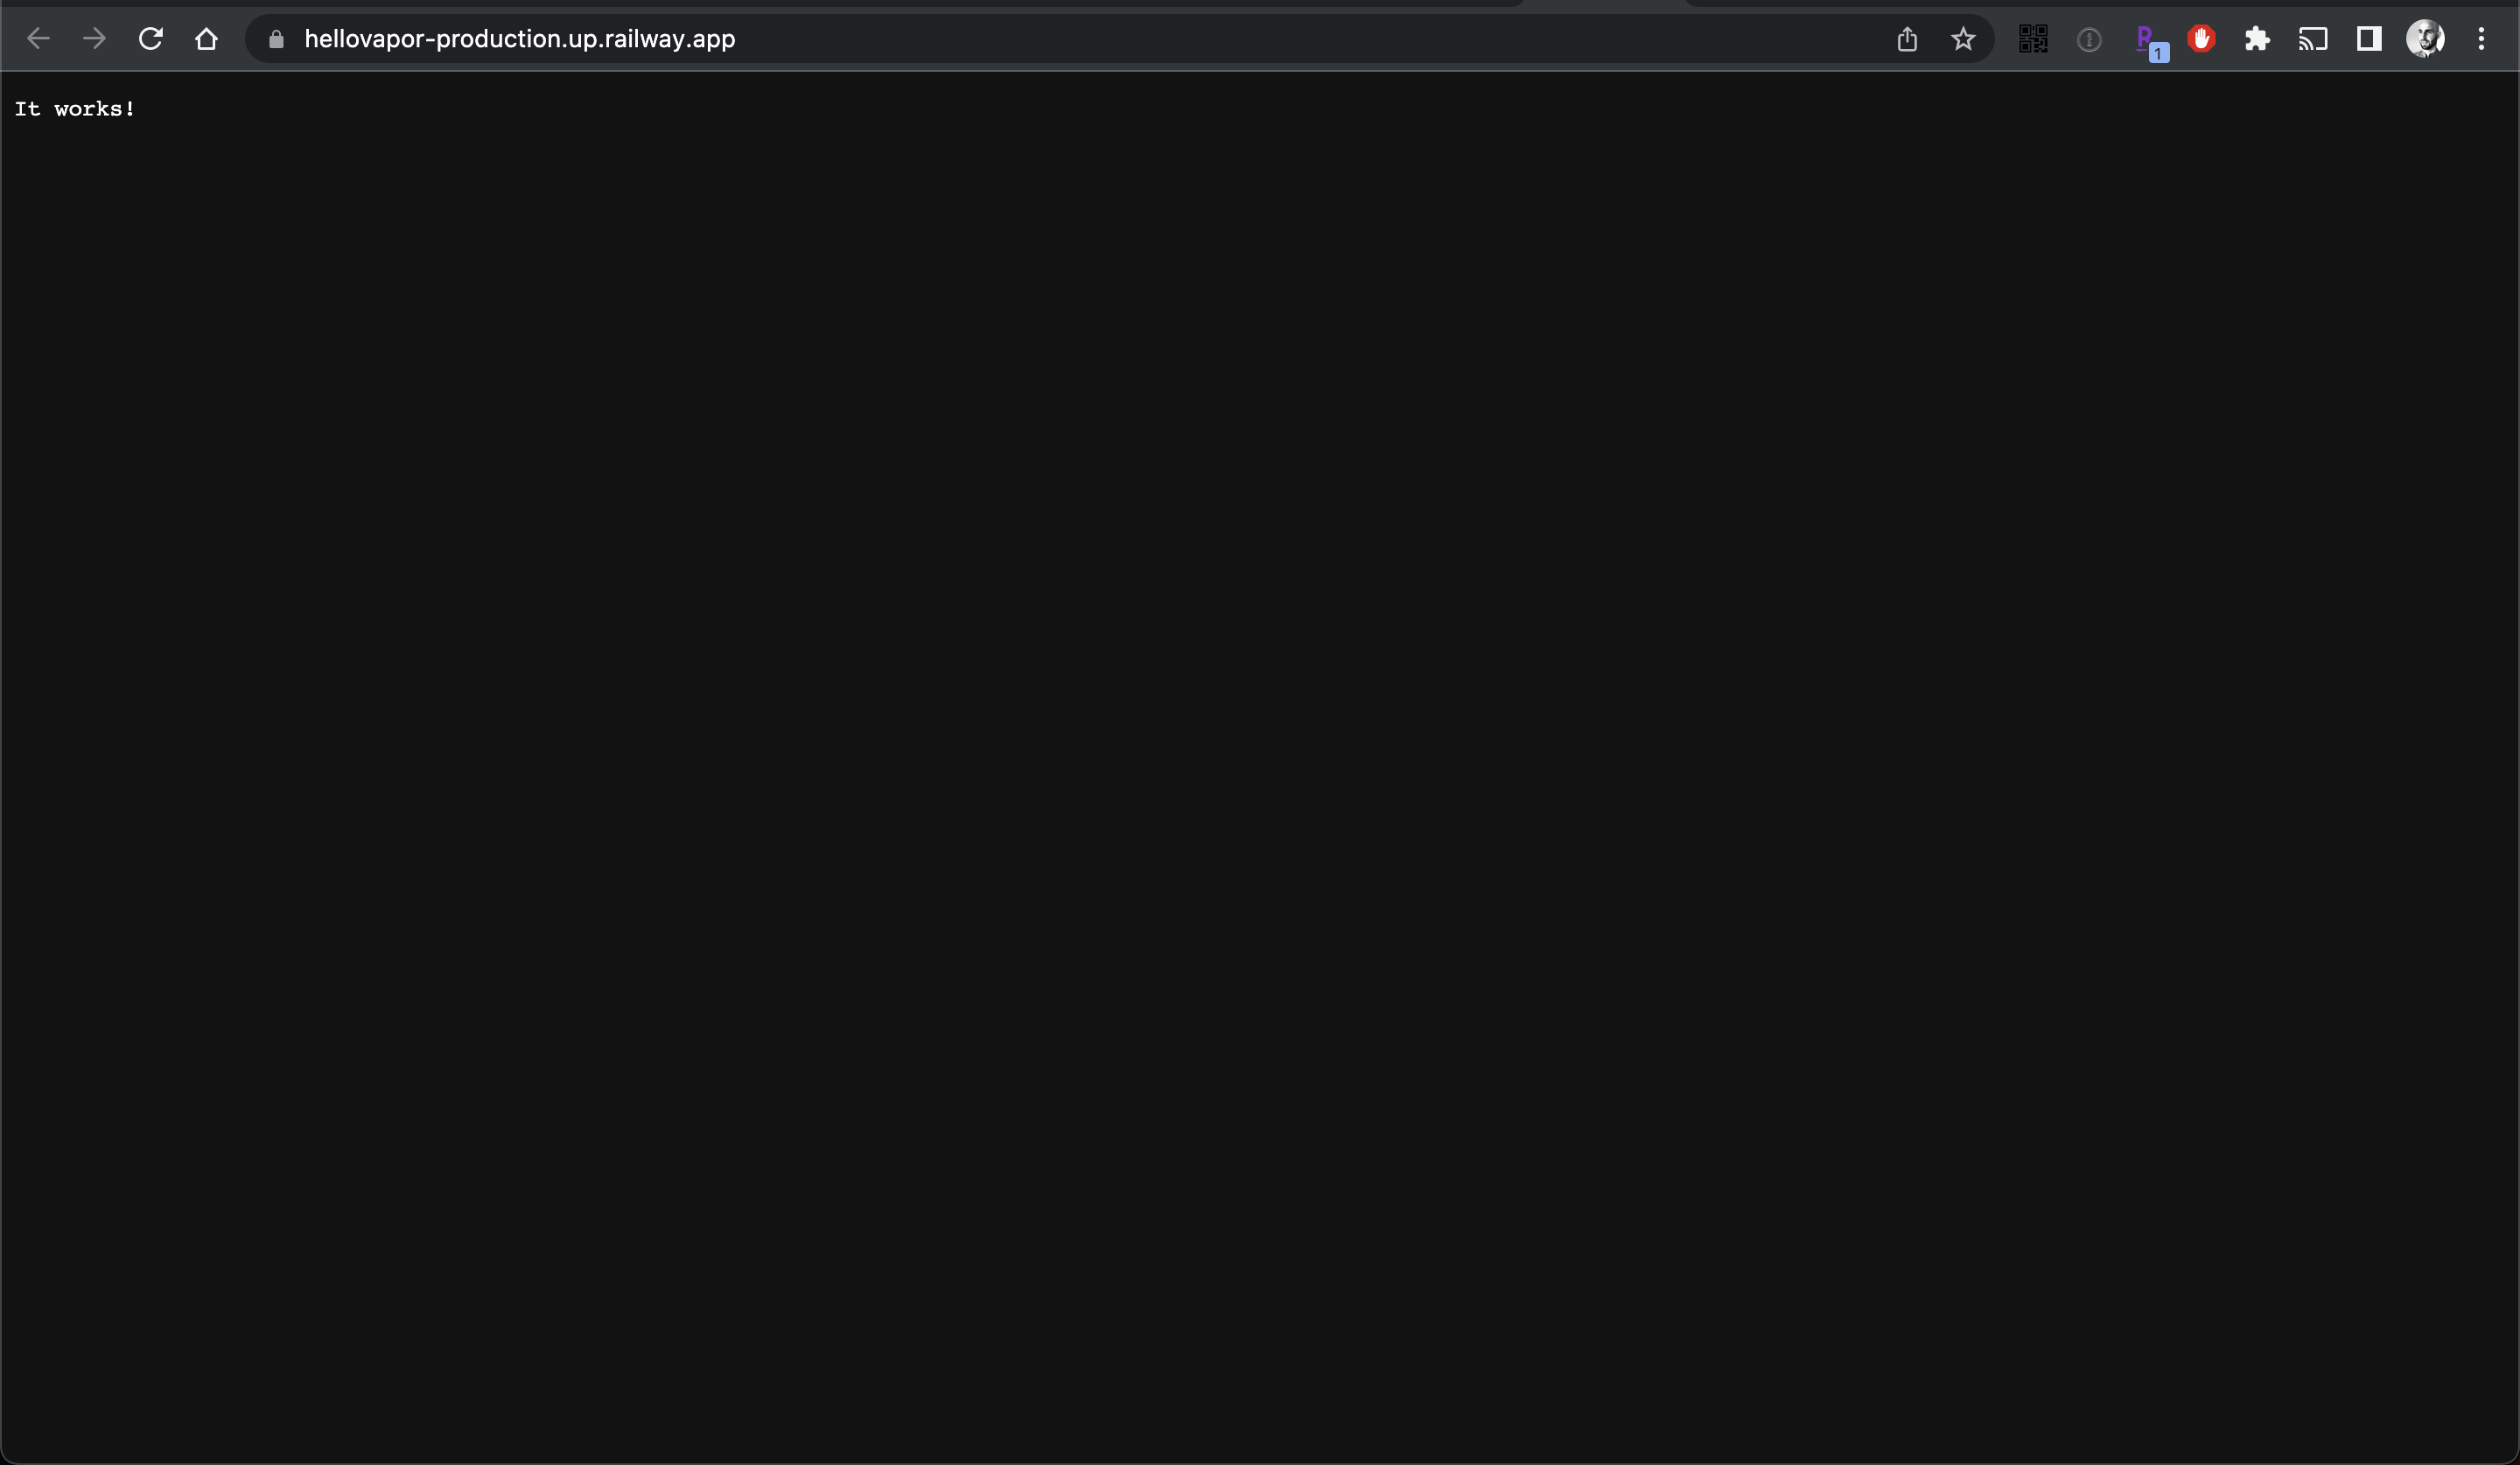
And just like that, we have our Swift Vapor app running in the cloud: